Hip Orthosis Braces
Indications:
Osteoarthritis hip
Hip sprain
Protect after hip surgery
Description
Video:
OTS-HP005
Hip Orthosis Brace
Indications:
Osteoarthritis hip
Hip sprain
Protect after hip surgery
Functions & Features:
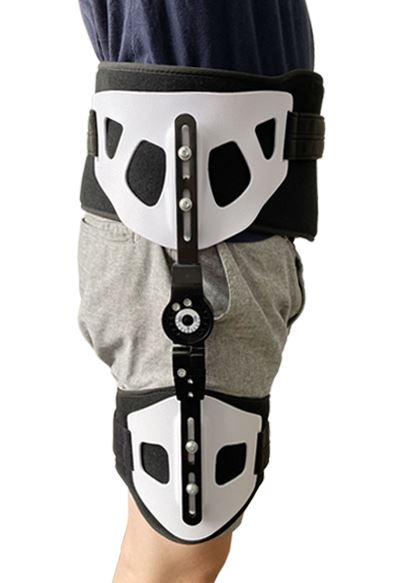
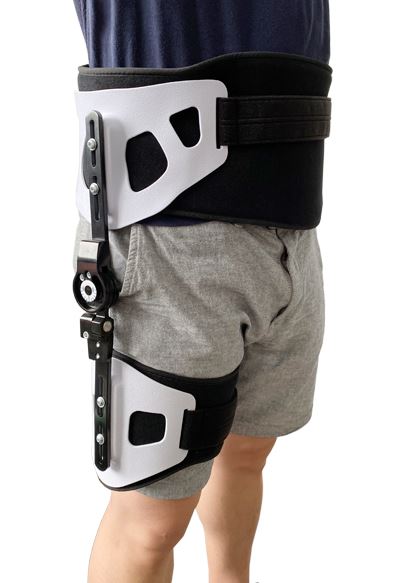
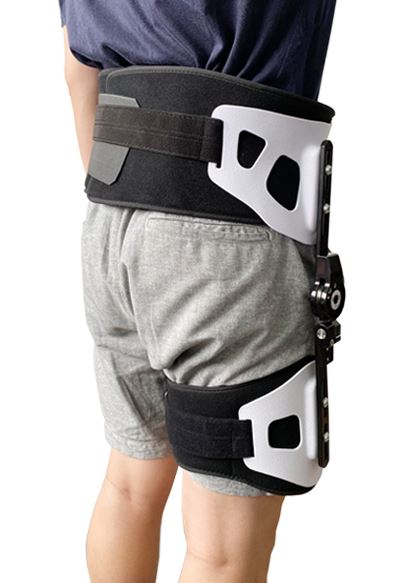
Rigid outer shell provides optimal support
Length adjustments from 42 cm - 48 cm
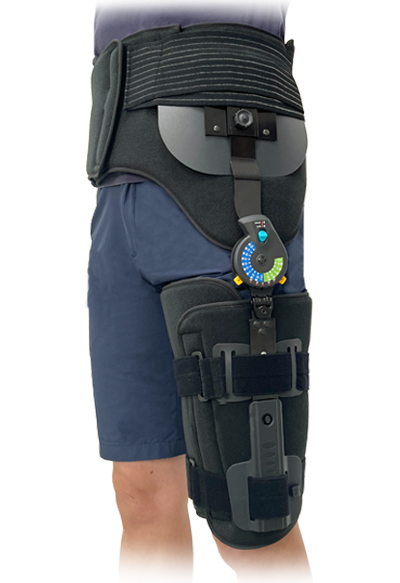
6 blocking bolts limit hip flexion and extension
Extension limitation at: 0°, 20°, 40°, 60°, 80°, 100°
Flexion limitation at: 0°, 20°, 40°, 60°, 80°, 100°
Continuously adjust abduction and adduction between -60° to 60°
Comprised of highly permeable fabric and skin-friendly material
Size: Universal
Instructions For Use

1. Wrap the waist belt around the pelvis. The upper border of the belt should be above the iliac crest.
2. You may need help from others in step 2, 3, 5. Wrap the thigh belt around the thigh. The lower border should above the knee cap.
3. Place the metal frame besides the pelvis and the thigh. Locate the hinge axis over the greater trochanter (The most prominent bony landmark at the top of lateral thigh). The upper border of the upper piece should not above the waist belt. The plastic plates of the lower frame should locate in the thigh belt.
4. Apply on the waist buckles and adjust the straps firmly.
5. Fasten the thigh straps around the thigh belt firmly but not too tight.
Instructions For Length Adjustment

Upper and lower piece
Unscrew the button by 3mm hex wrench and adjust the upper and lower pieces to the desired length. Screw the button tightly.
How To Set The ROM Hinge

Use 4mm hex wrench for flexion adjustment. Six blocking bolts limit hip flexion from 0°-100° (0°, 20°, 40°, 60°, 80°, 100°)
How To Adjust The Lateral Hinge

Use hex wrench for valgus/ varus angle adjustment.
Send Inquiry
You Might Also Like


